No.014
How to Paint a Room Like a Pro
The difference between a weekend paint job and a professional one is mostly preparation and order. Here is the sequence painters follow, step by step.
- Posted
- Minutes needed
- 4 min
- Corner
- Home Makeover
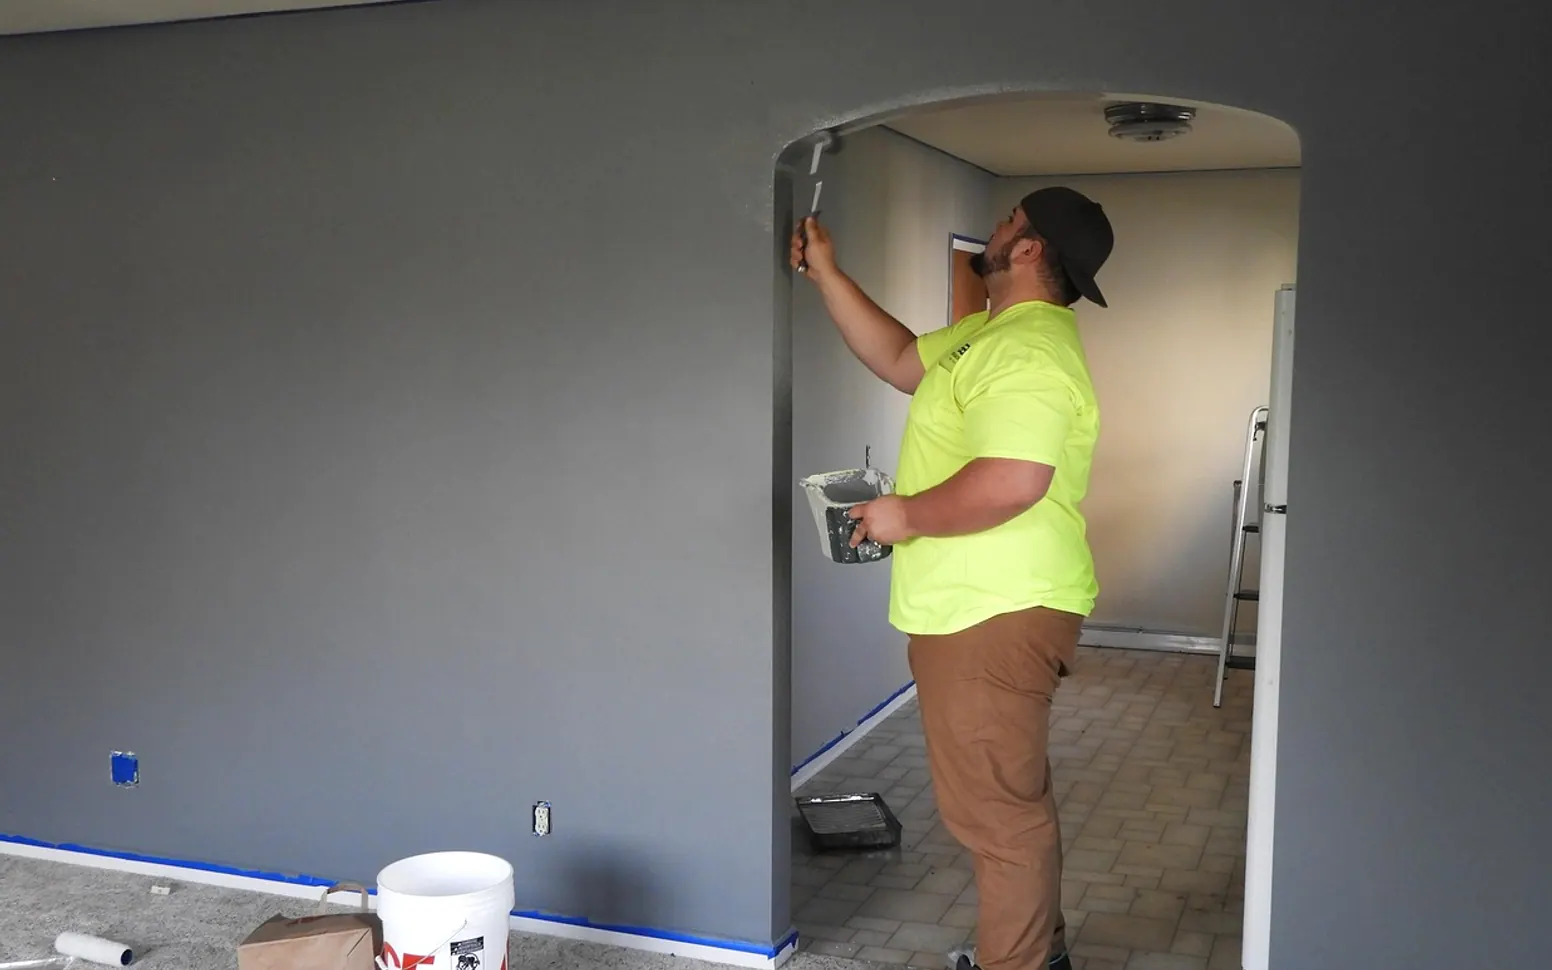
A fresh coat of paint is the quickest way to change how a room feels, and it is one of the few makeover jobs most people can do themselves. What separates a crisp, even finish from a streaky one is rarely talent. Professional painters spend more time preparing than painting, they work in a set order, and they never rush the drying. Borrow those habits and your walls will look as if someone else did them.
Choose the color and the finish
Paint chips are tiny and printed under store lighting, so always test before you commit. Buy sample pots of two or three shades and paint large patches, or paint sheets of poster board you can move around. Look at them in the morning, in the afternoon and under lamps in the evening, because the same color can look completely different by night.
The finish, or sheen, matters as much as the color:
| Finish | Look | Best for |
|---|---|---|
| Flat or matte | No shine, hides small flaws | Ceilings, bedrooms, low-traffic walls |
| Eggshell | Soft glow, easier to wipe | Living rooms, hallways |
| Satin | Gentle sheen, washable | Kitchens, bathrooms, kids' rooms |
| Semi-gloss | Noticeable shine, very durable | Trim, doors, cabinets |
To estimate how much you need, measure the wall area and check the coverage printed on the can. Plan for two coats, and buy a little extra for touch-ups later.
Gather the right tools
- A good angled brush for cutting in, about two inches wide
- A roller frame, an extension pole and roller covers suited to your wall texture
- A paint tray or a bucket with a grid
- Painter's tape, drop cloths and a putty knife
- Spackle, fine sandpaper and a damp sponge
- A stable step ladder
Cheap brushes shed bristles and leave lines. If you only upgrade one tool, make it the brush.
Prepare the room
- Clear and cover. Move furniture to the middle of the room and cover it. Lay drop cloths along every wall.
- Remove hardware. Take off outlet covers, switch plates and curtain rods, and keep the screws in a labeled bag.
- Repair. Fill nail holes and dents with spackle, let it dry and sand it flush.
- Clean. Wipe walls with a damp sponge to remove dust and grease, especially in kitchens. Paint sticks poorly to dirty surfaces.
- Tape. Run painter's tape along trim, ceilings and window frames, pressing the edge down firmly so paint cannot creep underneath.
- Prime where needed. Use a primer over repairs, bare plaster, stains or when making a big jump from dark to light.
Paint in the professional order
Work from the top down so drips never land on finished surfaces: ceiling first, then walls, then trim and doors last.
Cut in first
Using the brush, paint a band a few inches wide along the edges of each wall, around the ceiling line, corners, windows and outlets. Do one wall at a time so the cut-in band is still wet when you roll next to it. That avoids the visible "picture frame" effect around the edges.
Roll in sections
Load the roller evenly, then roll the paint onto a section of wall in a loose W or M shape before filling it in with straight, overlapping strokes. Keep a wet edge by working from one side of the wall to the other without stopping halfway. Do not press hard or go back over areas that have started to dry, which causes streaks.
Wait, then go again
Let the first coat dry fully according to the can before applying the second. Patience here is the single biggest secret of a smooth finish.
Pull the tape at the right moment
Remove tape while the final coat is still slightly soft, pulling it slowly back on itself at an angle. If paint has dried over the tape, score the edge gently with a craft knife first.
Stay safe while you work
- Ventilate. Open windows and use a fan to move air out of the room. Low-VOC or zero-VOC paints reduce fumes but do not remove the need for fresh air.
- Take breaks if you feel lightheaded, get a headache or notice irritated eyes, and step outside.
- Check for old lead paint. In homes built before the late 1970s, older layers may contain lead. Do not sand or scrape them until you have tested the surface with a kit or had it checked professionally.
- Keep children and pets out of the room until the paint has dried and the smell has cleared. If you are pregnant or have asthma, ask someone else to do the painting where possible.
- Use the ladder properly. Set it on a level floor, do not stand on the top step and move it instead of overreaching.
- Dispose responsibly. Never pour paint or solvents down the drain. Check your local rules for leftover paint and empty cans.
Clean up and finish
Wash water-based paint out of brushes and rollers with warm soapy water until it runs clear, then reshape the bristles and let them dry. Seal leftover paint tightly, label the can with the room name and keep it for touch-ups. Once the walls have cured, replace the hardware and move the furniture back.
A newly painted room often inspires a wider refresh. If the bedroom is next, our guide on how to organize a closet is a natural follow-up, since an empty closet is the easiest one to paint.
Where we stand
Our guides inform, your clinician decides
We write to make everyday health topics easier to understand and easier to act on in small, safe ways. We are not trained clinicians, and an article can never know your history, your medicines or what a professional would notice in person.
If something you read here sits uneasily with advice you have been given face to face, follow the advice of the person who has actually seen you.
Sunniva, Ansgar, Briallen and Halvard